The Layer Beneath the Loop: Getting Floor Insulation Right for a Notts Warm Floor
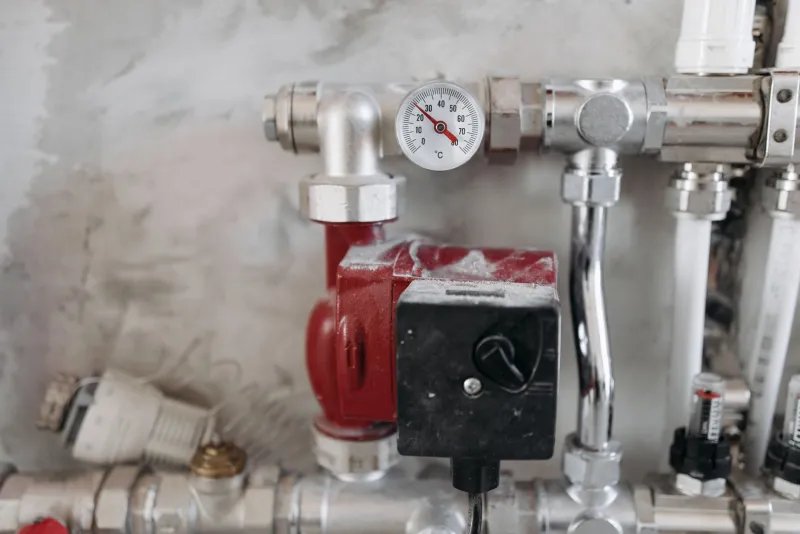
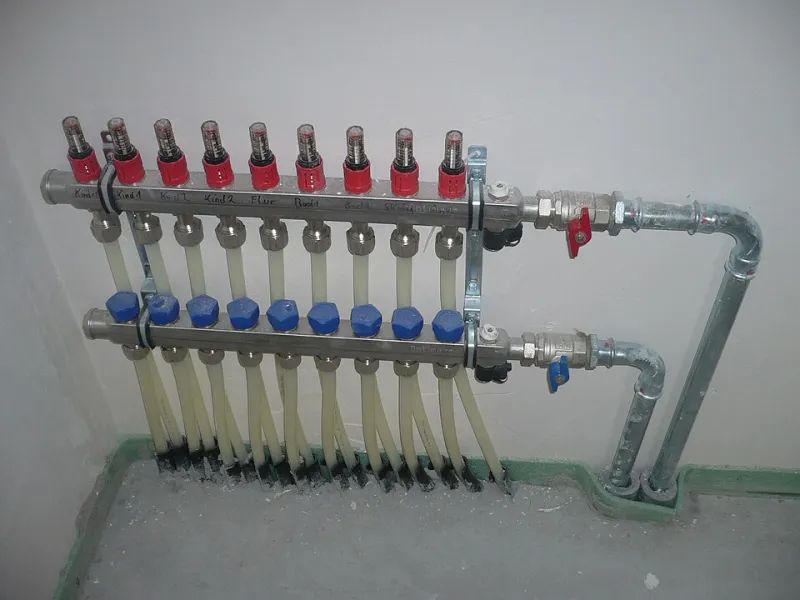
When a underfloor heating quote lands, it is easy to fixate on the shiny bits: the manifold in the cupboard, the thermostat on the wall, the neat loops of pipe under the screed. The layer beneath those pipes gets far less attention. It is also the layer that quietly decides how much of your paid-for heat warms the room above and how much drifts down into the slab, the void or the earth below.
In Nottinghamshire, that question plays out differently depending on what your floor is made of. A Carlton terrace, a West Bridgford semi, an Arnold bungalow and a 1980s beam-and-block house on the edge of Mansfield do not need the same build-up. The right answer is not one board thickness for every home. It is a sensible specification for your floor, your floor heights and your budget.
Why the board under the pipe is the quiet budget line
Underfloor heating runs at lower flow temperatures than radiators, which is part of its appeal. But low-temperature heat still needs to go upwards. If the insulation beneath the pipe is thin, heat has an easier route downwards. That does not usually show up as a dramatic failure. It shows up as a floor that takes longer to warm, a boiler or heat pump working harder than it should, and running costs that never quite match the brochure.
Downward heat loss matters most in winter, when the temperature difference between the warm floor and the ground below is largest. It also matters more in rooms that are heated for long periods, such as a kitchen-diner or a living room used all evening. A well-insulated build-up does not make UFH cheap to run by magic. It simply stops you paying to warm the wrong side of the floor.
Solid floors: the straightforward one, if the height works
With a solid floor, the usual approach is rigid insulation such as PIR board laid over the prepared slab, with pipe clipped or fixed above it and screed over the top. The better the thermal resistance of the board, the less heat leaks downwards.
For a typical ground-floor solid slab, 50mm of PIR is a common starting point, with 75mm or more where height allows and where the floor is likely to be heated for long hours. A thin 25mm board is not automatically wrong, but it is a compromise. It may suit a retrofit where every millimetre of ceiling height counts, but it should be presented as a compromise rather than dressed up as best practice.
This is where Nottinghamshire renovation realities bite. In an older home, adding insulation, pipe, screed and a floor covering can push the finished floor up by 70mm or more. That can affect door thresholds, kitchen plinths and the bottom step of the stairs. The insulation should not be the first thing sacrificed just because the finished floor level is tight. Sometimes a different build-up, a low-profile system or a rethink of the doorway is the better answer.
Suspended timber: between the joists and above them
Suspended timber floors are common in older Notts homes, and they need a different conversation. You can improve what sits between the joists by adding mineral wool or rigid insulation, but that alone does not always solve the upward heat path. Many UFH systems for timber floors use insulated overlay boards or plates designed to spread heat and reduce loss.
A practical spec often combines insulation between the joists with a suitable low-profile board above. The exact thickness depends on joist depth, floor condition and how much height you can afford. If someone quotes for pipe stapled to the underside of floorboards with a bit of foil underneath, ask what that foil is actually doing. Foil is not the same as a proper insulation layer.
Beam-and-block: the Notts 1970s and 1980s special
Beam-and-block floors turn up in plenty of Nottinghamshire homes from the late twentieth century. They can be decent floors, but they are not always flat and they are not always insulated to modern standards. A UFH system may need a suitable insulation layer over the blocks before pipe and screed go down.
A common approach is 50mm to 75mm of PIR over the prepared floor, depending on height and target performance. The key is that the board is continuous, taped at joints and carried to the edges. Gaps and crushed boards undermine the whole exercise. So does skipping the perimeter strip, which allows heat to escape sideways into the walls.
Where the regulations stop and good practice starts
Building regulations in England do not name a single underfloor heating board thickness for every house. Part L deals with the thermal performance of the building fabric, and replacing a floor can bring thermal elements into scope. System guidance such as BS EN 1264 also points to insulation beneath the pipes having adequate thermal resistance. In practice, your installer should be able to explain the build-up, the board type and the U-value or thermal resistance being achieved.
That is the line between a quote and a proper specification. A line that says “insulation included” is not enough. You want to know what insulation, how thick, where it goes, how edges and joints are handled, and whether the manifold area is insulated too.
How to spot a thin insulation spec in a quote
Look for the details. A sensible quote should state the board material, thickness, coverage and whether a vapour barrier and perimeter strip are included. Watch for vague phrases such as “foil-backed insulation”, “thermal underlay” or “insulation to suit”. Those can mean almost anything.
Ask whether the insulation runs under the manifold, whether pipe clips or fixing battens create cold bridges, and how the system deals with doorways and thresholds. If the quote is for a conservatory or garden room, ask whether the floor has been treated as a heated space or a semi-outdoor one. The insulation answer should change accordingly.
What an upgrade costs and how payback actually works
In 2026, PIR board prices vary with thickness and brand, but the difference between a thin board and a proper one is often less dramatic than the difference between a good install and a remedial one. For a 50m² ground floor, moving from a basic 25mm board to a 50mm board might add somewhere in the region of £600 to £1,200 in materials and labour, depending on the system and access. That is a broad guide, not a quote.
The payback is not instant. It shows up in running costs over years, especially if you heat the floor for long periods. A better insulation layer might save tens of pounds a year in some homes and more in others. The honest case for upgrading is not a glossy two-year payback claim. It is that you are installing a floor you cannot easily dig up later, so it is worth getting the hidden layer right while the screed is still a pile of bags on the drive.
Questions to ask before you sign
What board is going under the pipe, and what is its thermal resistance? How does the build-up affect finished floor height? How are edges, joints and thresholds insulated? Is the manifold cupboard included? And can the installer show the calculation rather than just the picture of the pipe layout?
A warm floor is a long-term commitment. The pipe gets the attention, but the board beneath it helps decide whether that commitment feels cosy or costly. In a Nottinghamshire home, that is worth a few extra questions before the first bag of screed is opened.